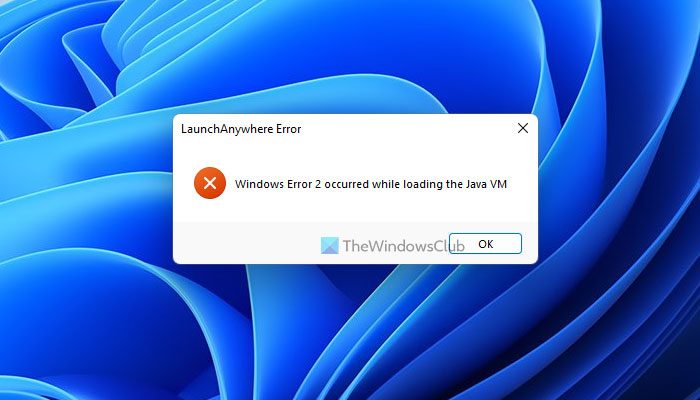
LaunchAnywhere is a Java application launcher that helps you launch various Java programs on your computer. It fetches the Java virtual machine or VM to open the application on your PC. However, if it shows the aforementioned error, the solutions are pretty straightforward.
Windows Error 2 occurred while loading the Java VM
To fix Windows Error 2 occurred while loading the Java VM error, follow these steps: To learn more about these steps, continue reading.
1] Update Java
It is the very first thing you need to do when you get the Windows Error 2 occurred while loading the Java VM error on your computer. Although it searches for update automatically, at times, it might fail to do so due to having metered internet connection. That is why it is recommended to update Java on your computer to the latest version. To update Java on Windows 11/10, follow these steps:
Open the Start Menu and click on the Configure Java option.Switch to the Update tab.Click on the Update Now button.Install the update.
However, if no update is available or you already have the latest version, you can go through other tips and tricks mentioned below.
2] Delete Java Environment Variable
When you install Java on your computer, it automatically adds an Environment Variable. However, if the path is somehow incorrect, it won’t get the proper environment that Windows usually offers to execute a command by any program. That is why you can delete this path and reset it on your PC. For that, do the following:
Search for advanced system settings and click on the search result.Click on the Environment Variables button.Head to the System variables section.Find the Path variable.Select it and click the Delete button.Click the OK button.
Then, restart your computer to get the change.
3] Add/modify PATH variable
Follow these steps to add or modify the Java PATH variable in Windows 11/10:
Search for advanced system settings in the Taskbar search box.Click on the individual search result.Make sure that you are in the Advanced tab.Click on the Environment Variables button.Go to the System variables section.Select Path and click the Edit button.Click on the New button.Enter this: C:\Program files\Java\jre1.8.0_60\binClick the OK button to save the change.
Finally, check if you have the same issue or not. Also, the aforementioned path must match the original Java installation path on your computer. Read: How to add or edit a PATH Environment Variable in Windows
4] Run installer via LAX_VM
LAX_VM parameter helps you run the installer from Java VM. Therefore, you can try this command to get the problem fixed:
Open this folder: C:\Program Files\Java\jre1.8.0_341\binRight-click on it and select the Open in Terminal option.Enter this command: installer.exe LAX_VM “C:\Program Files\Java\jre6\bin\java.exe”
Make sure that you have installed Java in the C drive and the aforementioned path is correct. However, if you have another folder, you need to replace it with this one. Also, the version might be different on your computer as well. Read: Java Virtual Machine Launcher Error, Could not create the Java Virtual Machine
How do I fix Windows error 2 occurred while loading the Java VM?
In order to fix the Windows Error 2 occurred while loading the Java VM error on Windows 11/10, you need to add or modify the PATH variable. However, you can also delete the existing PATH variable and add it manually. On the other hand, you can use the LAX_VM parameter to install it as well.
How do I fix error code 2 in Java?
To fix Error code 2 in Java VM, you need to follow the aforementioned tips and tricks. First, try updating the Java and check if it was a glitch or bug. If it doesn’t work, you can add or modify the PATH variable. Following that, you can use the LAX_VM parameter to get it fixed. That’s all! Hope these solutions worked for you. Read: Java Install or Update did not complete – Error Code 1603.

